With the latest releases of Photoshop, you can now again use the oil paint filter though it is a slightly different from the earlier incarnation, the options and the results are much the same (I am certain people have spent time pouring over the images to see if there is any difference). The filter has always been put in the 'one trick' effect school but I always think it is unfair (the filter does have feelings, you know).
If you want to find more presets and more tutorials, please check our site http://www.graphicxtras.com for all kinds of info about Photoshop and others. All photos are (c) 2016 Andrew Buckle

Above, a very basic oil paint filter effect added to a face in Photoshop

Above, you can see the effect applied multiple times though as you can see, some parts of the image result in a pretty terrifying facial expression especially when combined with highlights to the eyes but it does create some nice swirly trees in the fog.

A better solution is to perhaps use the oil paint filter at different settings to different parts of the image such as using the image in layers and using the oil paint x 10 to the background trees and then only a little to the person close to the image

The oil paint filter can be used with other filters such as the cut out. The above shows the cutout and then oil paint filter. Of course, you can apply them the other way around as well as below


The oil paint filter can be used as a smeary effect but you can also create all kinds of interesting 3D paint effects by using the lighting and different angles of shine (as above). You can use it with the basic setting but you can change the lighting and re-apply and change it again and re-apply or perhaps duplicate a number of copies of the image and then apply different lighting effects and angles in the oil paint and then combine using different combinations of blending modes such as darken and lighten and screen etc between them. You can then (as above) smear the end result by using the oil paint without the lighting

Or use the oil paint filter over and over again with the same settings to create deeper groves into the image and then perhaps modify it a little at the end with some smeary settings (no lighting set to off)

Or use different settings such as a low setting for the stylization and cleanliness and bristle detail to create a more obvious texture feature. I really wish there were a few more options for different styles of oil paint to create a whole range of different 3D depth textures with images though you can always create more abstract designs from the filter by perhaps adding a mosaic effect beforehand (below) to create a more square influenced OP effect

Or maximum filter and then the OP filter (below) to create a more rounded effect to the OP.

Or crystallize filter followed by OP below to create a more noisy chunky look (perhaps also mixing some additional color with noise)

Or you can use the oil paint filter in Photoshop and then use the fade filter command and set the blending mode to something like lighten (below) to create a weird glassy effect but then you could also just use other blending modes such as difference (not so effective though as the OP doesn't create that much of a change in the image for some documents but with smaller documents perhaps that would be fine) or perhaps alternate them or use random blending modes for each of the fades.

Or use the extrude filter (I know this is also considered a no go filter but it is a useful tool which can be used in many ways) such as combined with OP such as creating unusual zoom effects with the pyramid option

Or use the OP with the radial blur and zoom from any position (below) to create some seriously weird warping

Or combine multiple zooms and OP by duplication and transformation and multiply blending modes for more surreal imagery (below)

OK, so I have gone through a few possible ways of using the oil paint filter with a standard image but you can also use it with type
You can use oil paint in even more ways such as in videos as well as to create amazing displacement maps or brushes etc. Below, more examples but now with type.
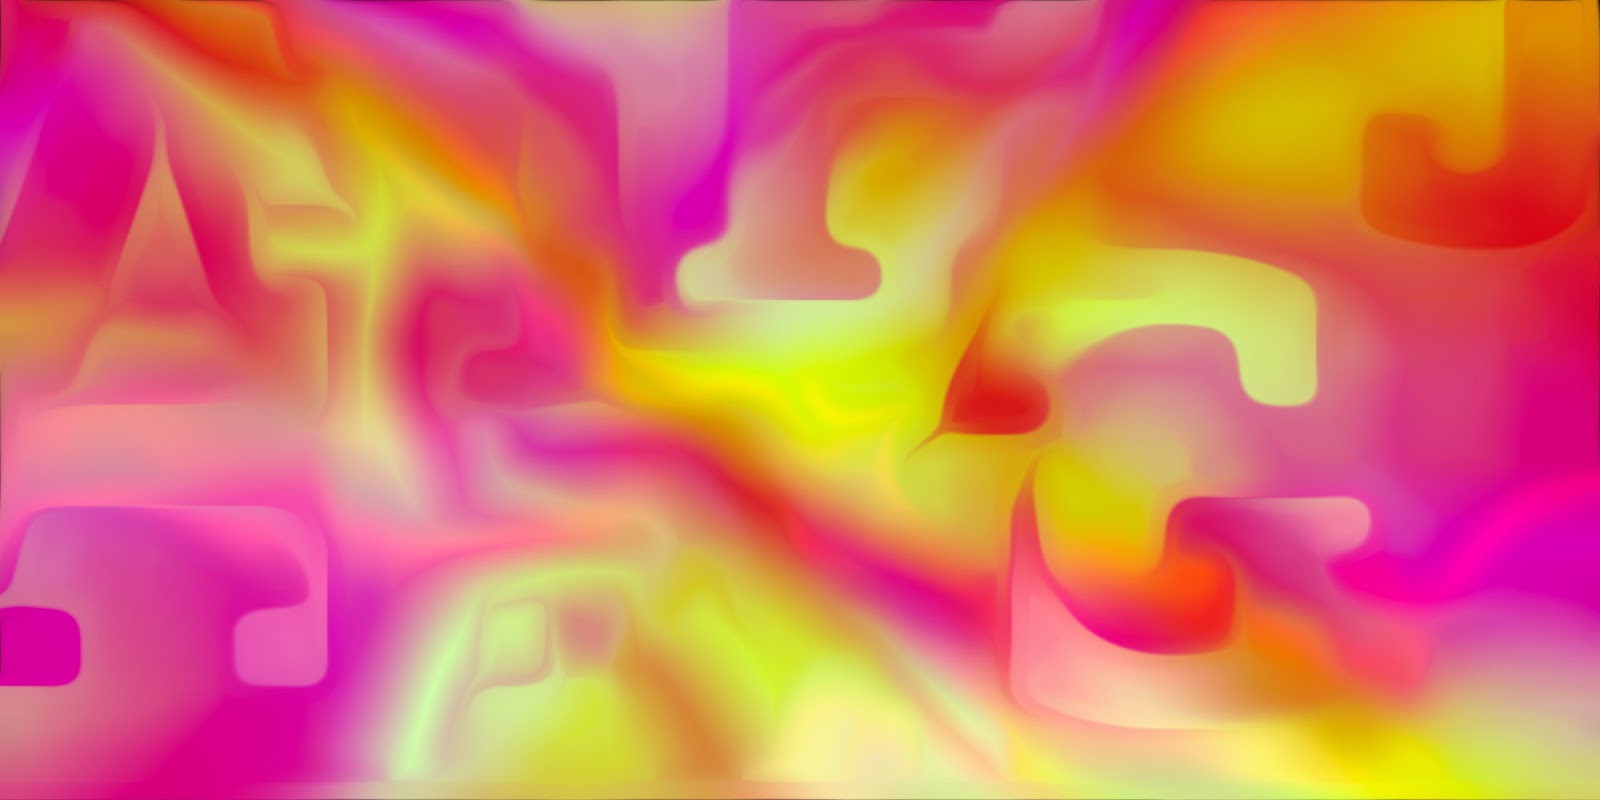
Below, OP has been applied a number of times to some type

Below, the glowing edges filter has been used to create a lot of extras color and edge to the image and then the oil paint filter has been used to smooth the type

Below, you can re-apply the glowing edges again and then re-apply the oil paint in Photoshop to create a really oddball color lined design and this without any need for yet using the lighting / depth features

Using the OP with the lighting results in even more creases and rough random lines in the type (below). I would say that a little vibrance can be of use as the oil paint filter does seem to dull things a little in the smearing

The fade tool in the edit menu proves useful with fade to lighten etc after application of the oil paint (below)

Or use the plastic wrap filter along with the oil paint filter to create some truly oddball gel effects in Photoshop (below)

And as with many of the examples on this page, you can apply them more than once and again combine them with more applications of the OP filter

Or use the type with mosaic to create interesting type effects with OP (below)

You can use the oil paint filter with the 3D features of Photoshop. Apply the oil paint filter to the image and then go to the 3D menu and use the new mesh command and select the depth map and place and then you can rotate the artwork and also change the lighting. Flatten the model (or you can always save it as a new 3D model) and then use the OP filter again to smooth the design (below)

Or using the plane and OP again (below)

If you like to use channels in Photoshop then you will find the OP is not enabled but you can get around this by splitting the channels and then changing the image mode for red and green etc to RGB and then convert back after applying the OP in different directions with lighting (below) or without and then converting back to grayscale images and then merging them again. The image below has then had an additional smeary oil paint filter applied and this creates all kinds of color filled 3D depth designs

The OP can also be used in 16bit color mode which should make for some more interesting color effects such as combining faded OP effects and blurs and repeating them a number of times with the lighting set to open to add some grain to the type (below) to create a nice smeary oil effect

The type layer can also be added to by gradients (as below) and the OP but patterns and brush strokes can be used and then modified using the OP

Or use them with layer masks and gradients (below)

Of course, there is animation ... and much more
If you want to find more presets and more tutorials, please check our site http://www.graphicxtras.com for all kinds of info about Photoshop and others. All photos are (c) 2016 Andrew Buckle

Above, a very basic oil paint filter effect added to a face in Photoshop

Above, you can see the effect applied multiple times though as you can see, some parts of the image result in a pretty terrifying facial expression especially when combined with highlights to the eyes but it does create some nice swirly trees in the fog.


The oil paint filter can be used with other filters such as the cut out. The above shows the cutout and then oil paint filter. Of course, you can apply them the other way around as well as below


Or use different settings such as a low setting for the stylization and cleanliness and bristle detail to create a more obvious texture feature. I really wish there were a few more options for different styles of oil paint to create a whole range of different 3D depth textures with images though you can always create more abstract designs from the filter by perhaps adding a mosaic effect beforehand (below) to create a more square influenced OP effect


Or you can use the oil paint filter in Photoshop and then use the fade filter command and set the blending mode to something like lighten (below) to create a weird glassy effect but then you could also just use other blending modes such as difference (not so effective though as the OP doesn't create that much of a change in the image for some documents but with smaller documents perhaps that would be fine) or perhaps alternate them or use random blending modes for each of the fades.

Or use the extrude filter (I know this is also considered a no go filter but it is a useful tool which can be used in many ways) such as combined with OP such as creating unusual zoom effects with the pyramid option

Or use the OP with the radial blur and zoom from any position (below) to create some seriously weird warping

Or combine multiple zooms and OP by duplication and transformation and multiply blending modes for more surreal imagery (below)

OK, so I have gone through a few possible ways of using the oil paint filter with a standard image but you can also use it with type
You can use oil paint in even more ways such as in videos as well as to create amazing displacement maps or brushes etc. Below, more examples but now with type.
Below, OP has been applied a number of times to some type

Below, the glowing edges filter has been used to create a lot of extras color and edge to the image and then the oil paint filter has been used to smooth the type

Below, you can re-apply the glowing edges again and then re-apply the oil paint in Photoshop to create a really oddball color lined design and this without any need for yet using the lighting / depth features

Using the OP with the lighting results in even more creases and rough random lines in the type (below). I would say that a little vibrance can be of use as the oil paint filter does seem to dull things a little in the smearing

The fade tool in the edit menu proves useful with fade to lighten etc after application of the oil paint (below)

Or use the plastic wrap filter along with the oil paint filter to create some truly oddball gel effects in Photoshop (below)

And as with many of the examples on this page, you can apply them more than once and again combine them with more applications of the OP filter

Or use the type with mosaic to create interesting type effects with OP (below)

You can use the oil paint filter with the 3D features of Photoshop. Apply the oil paint filter to the image and then go to the 3D menu and use the new mesh command and select the depth map and place and then you can rotate the artwork and also change the lighting. Flatten the model (or you can always save it as a new 3D model) and then use the OP filter again to smooth the design (below)

Or using the plane and OP again (below)

If you like to use channels in Photoshop then you will find the OP is not enabled but you can get around this by splitting the channels and then changing the image mode for red and green etc to RGB and then convert back after applying the OP in different directions with lighting (below) or without and then converting back to grayscale images and then merging them again. The image below has then had an additional smeary oil paint filter applied and this creates all kinds of color filled 3D depth designs

The OP can also be used in 16bit color mode which should make for some more interesting color effects such as combining faded OP effects and blurs and repeating them a number of times with the lighting set to open to add some grain to the type (below) to create a nice smeary oil effect

The type layer can also be added to by gradients (as below) and the OP but patterns and brush strokes can be used and then modified using the OP

Or use them with layer masks and gradients (below)
Of course, there is animation ... and much more
Comments